Repairing a Hole in Drywall with Spackle
Small holes and cracks in drywall are a common occurrence in many homes. Whether from hanging pictures, shifting furniture, or everyday wear, these imperfections can affect the overall appearance of a room. Fortunately, addressing them does not require extensive experience or specialized equipment. A straightforward approach involves using a spackling compound and basic tools to restore the surface. This method is suitable for nail holes, minor cracks, and small dents that do not penetrate deeply into the wall.
The process focuses on preparation, application, and finishing. Each step plays a role in achieving a result that blends with the surrounding surface. While the technique is accessible to most individuals, outcomes depend on factors such as the size of the damage, the type of paint on the wall, and the consistency of the spackle used. By understanding these elements, one can approach the task with realistic expectations and a clear workflow.
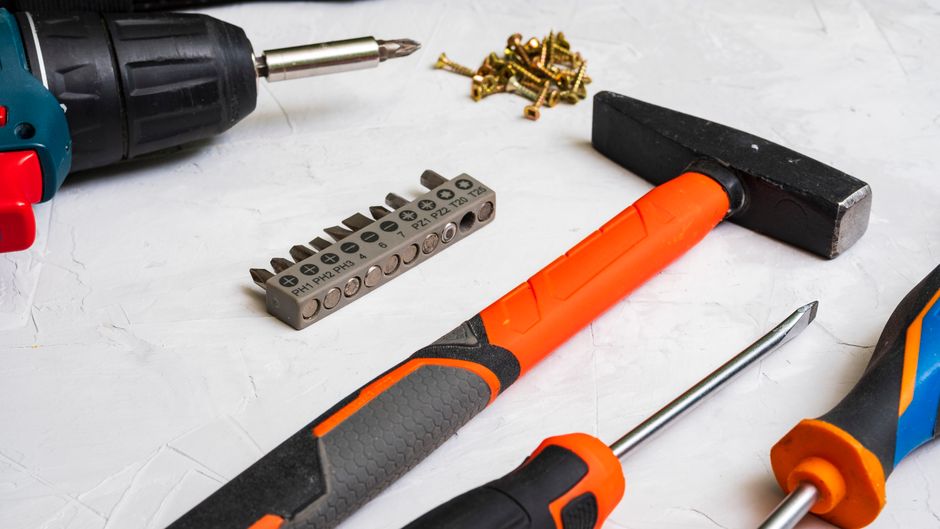
Materials such as spackling compound, a putty knife, sandpaper, and a primer are typically involved. Many commercially available products, including those offered by HandyFix, are designed specifically for small-scale drywall repairs. These compounds are often pre-mixed and ready to use, which simplifies the process. The following sections outline a step-by-step methodology that can be adapted to different situations.
Understanding Spackle and Its Uses
Spackle, also referred to as spackling compound, is a paste-like material used to fill gaps and holes in drywall. It is available in various formulations, including lightweight versions that dry quickly and heavier types intended for larger voids. For small repairs such as nail holes or hairline cracks, a lightweight spackle is often sufficient. It applies smoothly and sands easily, reducing the effort required during finishing.
The drying time of spackle varies depending on the brand, thickness of the application, and environmental humidity. Some compounds may be dry within thirty minutes, while others require several hours. Reading the manufacturer’s instructions is essential for planning the workflow. Applying too much material in a single coat may lead to cracking, whereas multiple thin coats can produce a more stable fill. The choice of spackle should also consider whether the area will be painted afterward, as some compounds are formulated to accept paint more readily.
Spackle is distinct from joint compound, which is used for larger taping and bedding applications. For small holes, spackle is typically the preferred material due to its ease of use and minimal shrinkage. Understanding these differences helps in selecting the appropriate product for the specific repair.
Preparing the Hole and Surrounding Area
Before applying any compound, the damaged area needs preparation. Loose debris, dust, and peeling paint should be removed to ensure proper adhesion. A utility knife or a small scraper can be used to gently clear the edges of the hole. For nail holes, there is usually little debris, but a quick wipe with a dry cloth helps remove surface dust.
If the hole has rough edges, lightly sanding the rim with fine-grit sandpaper can create a smoother transition between the wall and the patch. This step is particularly useful for cracks where the drywall paper may be exposed. Any raised paper fibers should be smoothed or trimmed, as they may cause bumps after the spackle is applied. In cases where the hole is larger than a quarter inch, a patch or backing material might be needed, but for small repairs addressed here, no additional support is required.
Cleaning the area with a mild detergent or a damp cloth can remove any grease or residue, especially in kitchens or bathrooms. Allowing the surface to dry completely before proceeding ensures that the spackle bonds correctly. Proper preparation reduces the likelihood of the repair lifting or cracking over time, although external factors such as wall movement can still influence longevity.
Applying the Spackle Compound
Once the area is clean and dry, a small amount of spackle is scooped onto the tip of a putty knife. For nail holes, a pea-sized amount is usually enough. The compound is pressed into the hole using a slight overfill, ensuring that it fully fills the void without leaving air pockets. The putty knife is then drawn across the surface at a slight angle to remove excess material, leaving a thin layer flush with the wall.
For cracks, the spackle should be worked into the length of the crack using a smooth motion. It may be necessary to apply the compound in two or three thin layers rather than one thick coat. Each layer should be allowed to dry according to the product instructions before the next is added. This technique minimizes shrinkage and produces a more uniform fill. The final coat should be slightly higher than the wall surface to allow for sanding.
After applying the spackle, the putty knife should be cleaned promptly to prevent the compound from hardening on the blade. Any drips or smears on the surrounding wall can be wiped away with a damp sponge before they dry. The drying period is an opportunity to inspect the repair for any obvious defects, though final evaluation occurs after sanding.
Sanding and Smoothing the Surface
When the spackle is fully dry, sanding is performed to level the repair with the surrounding drywall. A fine-grit sandpaper, typically between 120 and 220 grit, is used. Sanding blocks or sanding sponges can provide even pressure and prevent finger indentations. The movement should be circular or in the direction of the grain of the wall texture, if any. Care is taken to avoid sanding through the paper face of the drywall, which can create a larger problem.
The goal is to remove the excess spackle until the patch feels smooth to the touch. Over-sanding may create a depression, requiring additional compound. Regular checking by running a hand over the area helps gauge progress. Dust generated during sanding should be contained by using a damp cloth to wipe the area or by working in a way that minimizes airborne particles. A vacuum with a brush attachment can also be used to clean the surface and the surrounding floor.
After sanding, the area should be dust-free before any primer or paint is applied. Any remaining dust can interfere with adhesion and cause an uneven finish. This step is straightforward but critical for the final appearance.
Priming and Painting for a Seamless Finish
Once the surface is smooth and clean, a layer of primer is applied over the patched area. Primer serves multiple purposes: it seals the porous spackle, ensures uniform paint absorption, and can help hide the repair from view. A small brush or a mini roller can be used to apply the primer, extending slightly beyond the edges of the repair. Allowing the primer to dry completely according to its instructions is necessary before painting.
Paint is then applied in the same manner. For best blending, the same paint type and finish used on the surrounding wall should be used. Applying two thin coats rather than one heavy coat often produces a more consistent result. The paint should be feathered outward to avoid a distinct edge. In many cases, the repair becomes barely noticeable after proper priming and painting. However, factors such as paint sheen, wall texture, and lighting can influence how visible the patch remains.
If the wall has a texture such as orange peel or knockdown, matching that texture may require additional techniques. For small smooth repairs, the method described here is often sufficient. With careful execution, the patched area can integrate with the rest of the wall, restoring the surface to a presentable condition.